
Read Time: 11 min
Fall rain soaks into porous pavers and open joints, and the freeze-thaw cycles that follow across Franklin and Cumberland counties make that water expand, shift pavers, and flake stone surfaces. A few hours of fall hardscape maintenance before the ground freezes keeps minor joint erosion from turning into settling and repairs by spring.
This checklist covers the steps, thresholds, and timing you need to protect your hardscaping (patios, walkways, retaining walls, and outdoor kitchens) before the first hard freeze.
TL;DR / Quick Summary
Preparing Pennsylvania hardscapes for winter comes down to five jobs: cleaning surfaces, restoring joint sand, sealing, clearing drainage, and shutting down outdoor plumbing before freezing weather.
Key Takeaways:
- Clear wet leaves promptly to prevent tannin stains on pavers and stone.
- Refill eroded joints with polymeric sand during a dry, frost-free stretch.
- Use a breathable penetrating sealer to limit freeze-thaw water absorption.
- Keep retaining wall drain outlets open so water can’t build up behind the wall.
- Blow out outdoor kitchen lines and shut down water features before the first freeze.
1. Clean Pavers and Remove Fall Leaf Debris

Wet oak and maple leaves release tannins that leave dark stains on concrete pavers and natural stone. Debris left to decompose over winter also holds moisture and encourages moss in shaded joints.
Sweep the entire surface with a stiff-bristled push broom, weekly during peak leaf drop. For light stains, scrub with a paver cleaner or a mild solution of dish soap and warm water.
Be careful with pressure washers, which can etch paver faces and blast out joint sand. If you pressure wash, use a wide 40-degree fan tip or a rotary surface cleaner, keep pressure moderate (around 1,500 PSI or less is a common guideline, but check your paver manufacturer’s recommendation), and hold the wand at least 12 inches from the surface. Plan to re-sand any joints you wash out.
2. Inspect Paver Joints and Replenish Polymeric Sand
Joint sand locks pavers together so they share loads instead of shifting individually. Runoff and foot traffic wash it away, leaving open joints where water collects and freezes.
Check joints along high-traffic walkways and patio edges. Properly filled joints sit about 1/8 inch below the bottom of the paver’s chamfer (the beveled top edge).2 If sand has dropped roughly 1/4 inch or more below that line, or weeds are growing through, restore the joints before winter:
- Clear the joints: Remove weeds, moss, and old sand with a joint scraper or narrow putty knife. Most polymeric sand manufacturers call for clearing joints to a depth of at least 1 inch so the new sand bonds as a solid layer. A thin top-off tends to crack and wash out.
- Wait for dry conditions: Pavers and joints must be completely dry, with no rain in the forecast for the cure period on the product label, typically 24–48 hours.
- Sweep in the sand: Spread polymeric sand across the surface and work it diagonally into the joints with a push broom until every joint is full.
- Compact: Run a plate compactor with a protective pad, or tap pavers with a rubber mallet, to settle the sand. Top off any joints that drop.
- Blow off residue: Use a leaf blower on low to remove every trace of sand and dust from paver faces. Residue left on the surface will haze when wet.
- Activate with water: Mist the surface in passes exactly as the manufacturer directs so the binder sets without washing out.
Cure requirements vary by product, and cool weather slows curing. In South-Central Pennsylvania, late September through mid-October usually offers the best mix of dry days and mild temperatures.
3. Seal Pavers with a Breathable Penetrating Sealer
Concrete pavers and natural stone are porous. When absorbed water freezes on cold Cumberland Valley nights, it expands by about 9%, and repeated cycles cause micro-cracking, flaking, and surface spalling.
Sealer reduces how much water and dissolved deicing salt the surface absorbs. For pavers in our climate, penetrating, breathable silane-siloxane sealers are a strong choice because they repel water while still letting moisture vapor escape from below. Film-forming acrylics can trap that moisture and turn cloudy.
Clean and re-sand first, let the polymeric sand cure fully per its label, and then seal within the manufacturer’s temperature range, typically 50°F or warmer during application and cure. Penetrating sealers generally last 3–5 years depending on sun exposure and traffic.
Stamped Concrete Needs Its Own Check
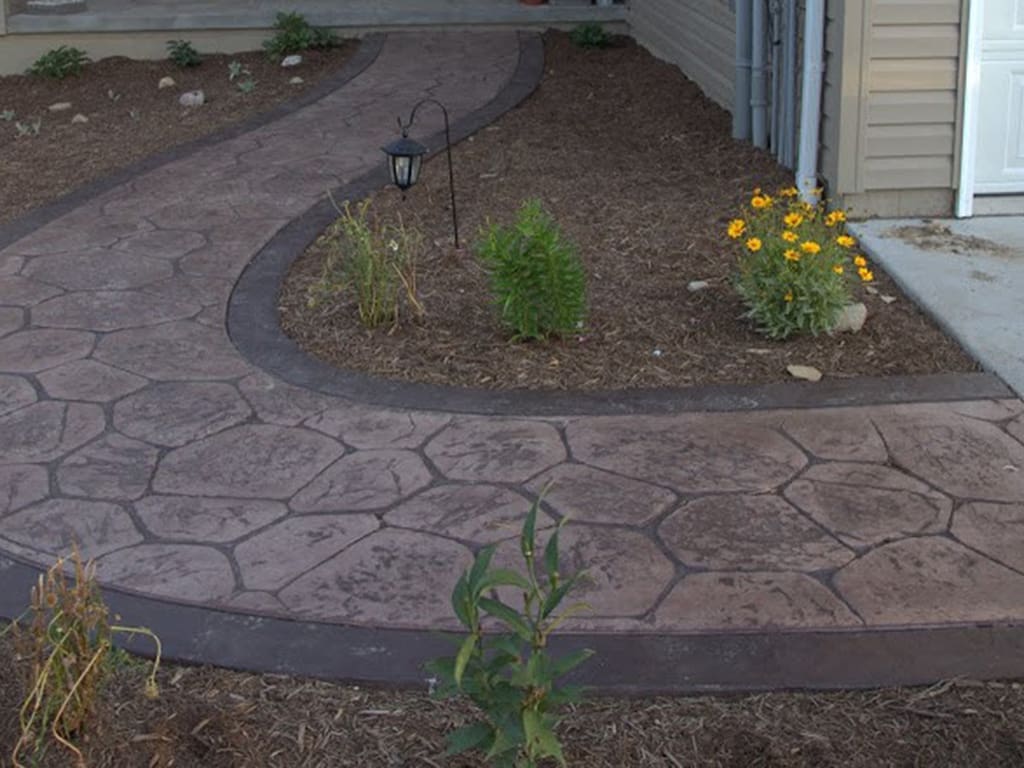
Stamped concrete is usually protected with an acrylic sealer that enhances color and wears faster, with reapplication commonly needed every 2–3 years. Check for dull or patchy areas this fall; an intact seal is its main defense against moisture and deicers.
4. Clear Retaining Wall Drainage and Runoff Paths
Water is one of the biggest threats to a retaining wall, and industry design guidance says it should be directed away from the wall whenever possible to prevent erosion, soil washout, and hydrostatic pressure.3 Fall leaves clog the swales, channel drains, and outlets that do that job, so rainfall builds up in the soil behind the wall.
Saturated soil creates hydrostatic pressure against the wall, and when fine-grained, poorly drained soils freeze, frost heave adds more movement. Together they push walls out of alignment, causing leaning, bulging, or separated blocks.
- Clear drains and downspouts: Remove leaves from channel drains, catch basins, French drain cleanouts, and downspout extensions that discharge near hardscaping.
- Check wall drain outlets: Many segmental walls have a gravel zone and drain pipe behind the base that empties through weep holes along the wall face or into a drainage system. This system is designed to handle only incidental water, so keeping surface water away matters most.3
- Sight along the cap line: Look down the top of the wall for dips, bulges, or gaps. In our experience, catching minor block movement in the fall costs far less than rebuilding a wall section after the spring thaw.
5. Winterize Outdoor Kitchens, Fire Pits, and Water Features
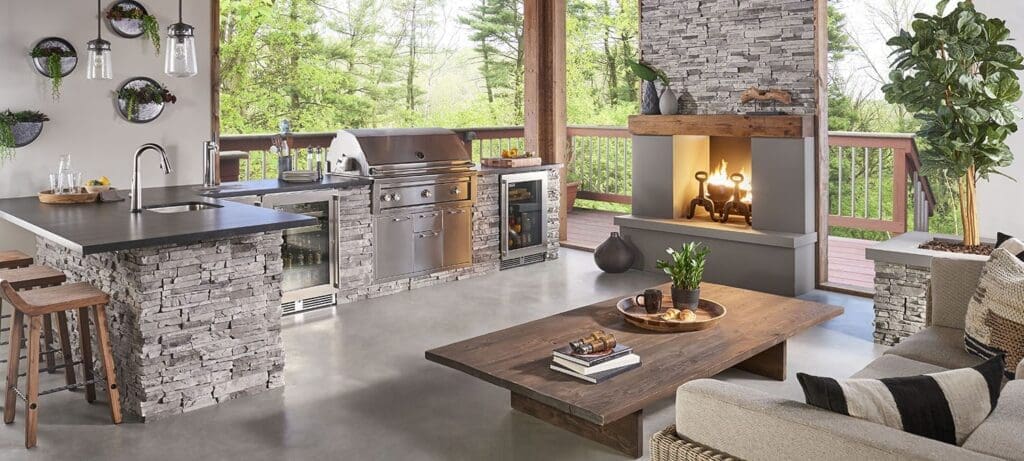
Outdoor Kitchen Plumbing and Appliances
Close the indoor shutoff valve that feeds the outdoor kitchen, then open exterior faucets and drain valves to relieve pressure. Use an air compressor regulated to about 30 PSI to blow remaining water out of the lines. Winterize outdoor refrigerators, ice makers, and beverage centers per the manufacturer’s instructions, typically unplugging, draining, and cleaning them to prevent mold.
Gas and Wood-Burning Fire Pits
For natural gas fire pits, close the fire pit’s dedicated shutoff valve, not your home’s main gas valve. For propane, close the tank valve, disconnect the tank, and store it upright outdoors, never in a garage or basement. For wood-burning pits, clear the ash, open the bowl’s drain hole, and add a fitted cover.
Water Features and Fountains
Remove and clean submersible pumps, then store them per the manufacturer; many recommend a bucket of water in a frost-free space so seals don’t dry out. Drain fountains and basins that could crack. For pondless waterfalls and other water features removing the pump is usually enough, and the gravel-filled reservoir can typically stay in place. If you keep fish in a pond over winter, a floating de-icer holds open a hole for gas exchange.
What You Can Handle vs. When to Call a Pro
Tasks Most Homeowners Can Do
- Sweeping leaves and debris weekly: Needs only a broom or blower and prevents most tannin staining.
- Washing light stains by hand: Mild soap and a stiff brush carry no risk of etching pavers or blowing out joints.
- Shutting off outdoor spigots: Closing the interior valve and opening the exterior faucet takes minutes.
Tasks for Confident DIYers
- Re-sanding joints with polymeric sand: Requires a joint scraper, a plate compactor or mallet, a leaf blower, and a reliable dry-weather window.
- Applying penetrating sealer: Requires a pump sprayer or roller and close attention to the label’s temperature and coverage rates.
- Blowing out simple outdoor sink lines: Requires a compressor with a pressure regulator and knowing where your shutoff and drain points are.
When to Call a Professional
- Leaning or bulging retaining walls: Often point to drainage, base, or design problems that need excavation and rebuilding.
- Walls over 4 feet tall: Industry guidance recommends an engineered design for walls taller than 4 feet, so leave repairs at that height to a pro.3
- Sunken or heaved pavers: Low spots that hold water (“birdbaths”) signal base erosion or subsoil settlement that requires lifting, re-grading, and re-laying.
- Multi-appliance outdoor kitchens: Built-in ice makers, dishwashers, and filtration systems have extra drain points and specific shutdown steps.
- Heavy efflorescence: Light white haze often fades on its own; heavy buildup calls for acidic cleaners that can etch pavers if misapplied.
- Red flags requiring immediate professional attention: A wall that has visibly moved since last season, cracks running through multiple courses, soil or gravel washing out at the wall base, or pavers sinking next to your foundation.
Common Fall Hardscape Maintenance Mistakes to Avoid
1. Using the Wrong Deicer
What people do wrong: Spreading heavy doses of rock salt, magnesium chloride, or ammonium-based ice melt across patios, steps, and stamped concrete.
Why it’s a problem: Overapplied salt accelerates freeze-thaw scaling, especially on stamped and poured concrete less than a year old. Magnesium chloride and ammonium-based products can chemically attack concrete, and according to Penn State Extension, salt spray and runoff can injure nearby lawns, trees, and shrubs.1
The right approach: Shovel first with a plastic-edged shovel, apply ice melt sparingly, and follow your paver manufacturer’s guidance.2 Calcium magnesium acetate (CMA) is the gentlest option for concrete and plants, though it costs more and works more slowly than salt. Sand adds traction but should be swept up in spring.
2. Applying Polymeric Sand Before Rain
What people do wrong: Installing polymeric sand on damp pavers or right before an autumn storm.
Why it’s a problem: Uncured binder washes out of the joints and dries as a cloudy haze on the paver face. Cleanup usually requires a dedicated polymeric haze remover, and the washed-out joints have to be redone.
The right approach: Confirm a dry forecast for the full cure period on the label, typically 24–48 hours, and make sure pavers are completely dry before sweeping and activating.
3. Leaving Planters and Furniture on Pavers All Winter
What people do wrong: Leaving heavy glazed planters and iron furniture sitting flat on pavers through winter.
Why it’s a problem: Trapped moisture under solid bases causes staining, localized spalling, and rust marks.
The right approach: Set planters on pot feet or risers or move them into storage, and lift metal furniture legs with plastic or rubber feet so the surface underneath can dry.
Conclusion
Most winter hardscape damage traces back to clogged drainage, open paver joints, and water left in outdoor plumbing. Clearing drains, restoring joint sand during a dry fall stretch, and shutting down outdoor kitchens and water features before the first freeze eliminates the leading causes of shifting, cracking, and staining.
ProLawn & Landscaping has built hardscapes across South-Central Pennsylvania for 15+ years. If you spot sunken pavers, a leaning retaining wall, or cracked stamped concrete this fall, we’re happy to take a look before the first freeze. Call us at 717-776-3500 or request an estimate.
Serving Carlisle, Greencastle, Shippensburg, Chambersburg, Walnut Bottom, and surrounding Cumberland and Franklin County areas.
Frequently Asked Questions
When should I stop sealing pavers in Pennsylvania in the fall?
Stop sealing once temperatures no longer stay within your sealer’s label range, typically 50°F or warmer, through application and the full cure period. In South-Central Pennsylvania, that usually means finishing by mid-October. Sealer applied too cold may not cure properly and can cloud or wear off early.
What is the safest ice melt to use on concrete pavers?
Calcium magnesium acetate (CMA) is the gentlest deicer for concrete pavers, stamped concrete, and nearby plants. It’s far less corrosive than chloride salts but costs more and works more slowly. Whatever you use, shovel first, apply sparingly, avoid ammonium-based products, and follow your paver manufacturer’s guidance.
How do I know if my paver patio needs new joint sand before winter?
Your patio needs new joint sand if the sand has dropped roughly 1/4 inch or more below the bottom of the paver chamfer, if you can see gaps between pavers, or if weeds and moss are growing through the joints. Open joints let winter runoff reach the bedding layer, where it freezes and shifts pavers.
Should I power wash my patio before winter?
You can, but gently. Use a wide 40-degree fan tip or a surface cleaner at moderate pressure, around 1,500 PSI or less, and hold the wand at least 12 inches from the surface. Aggressive washing etches paver faces and strips joint sand right before winter, so plan to re-sand any joints you disturb.
What happens if I don’t winterize my outdoor kitchen plumbing?
Water left in outdoor kitchen lines and valves will freeze, expand, and can split pipes or crack faucet cartridges. Because outdoor lines run shallow and exposed, they freeze quickly. Closing the interior shutoff and blowing the lines clear with compressed air prevents spring leaks and water damage inside cabinets.
Why are my retaining wall blocks shifting during the winter?
Retaining wall blocks usually shift in winter because water trapped behind the wall builds hydrostatic pressure, and saturated soil expands as it freezes. Clogged drain outlets and runoff flowing over the top of the wall make both worse. Keeping outlets open and diverting downspouts and surface water away from the wall prevents most movement.
Related Resources
- Our Hardscaping Projects
- Front-Entry and Walkway Paver Ideas
- Stamped Concrete Services
- Water Feature Design and Installation
- Contact ProLawn & Landscaping
Sources
- Penn State Extension — Deicing salt injury to lawns and landscape plants in Pennsylvania
- Concrete Masonry & Hardscapes Association (CMHA) — Interlocking concrete pavement maintenance, joint sand, and deicer guidance (CMHA formed from the 2022 merger of ICPI and NCMA).
- Concrete Masonry & Hardscapes Association (CMHA) — Segmental retaining wall drainage and maintenance guidance.